Top tips for weaning your baby

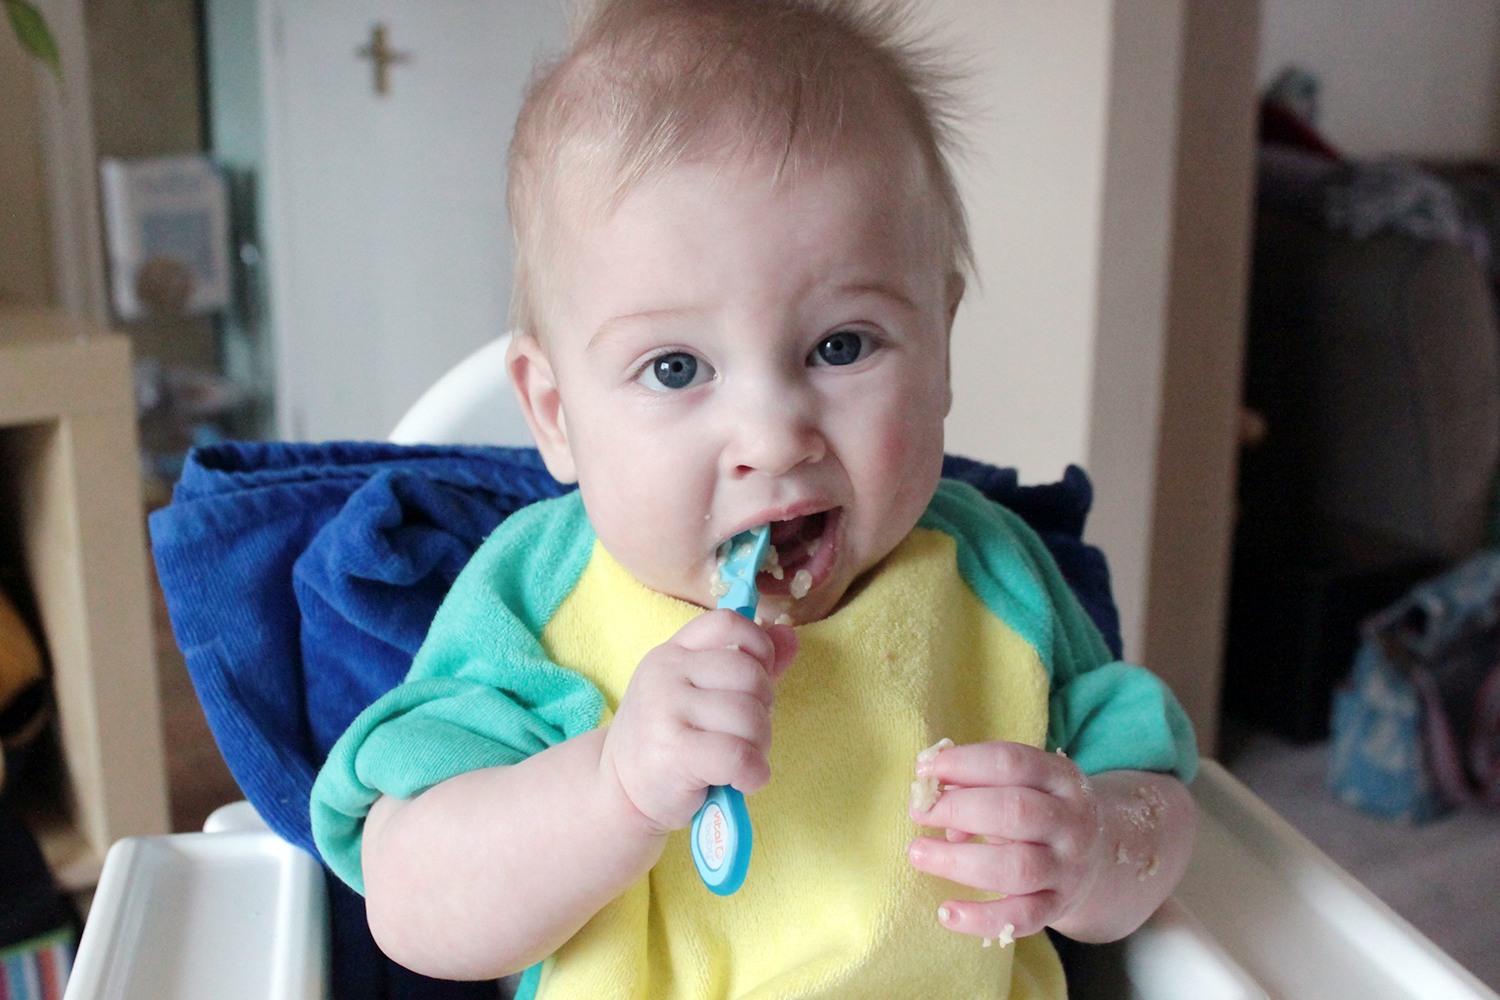
Toby eating porridge

**Post written in association with WaterWipes

Weaning your baby is definitely one of the big milestones of the first year of their life, but with so much conflicting advice out there, it can be hard to know where to start! Now Toby is five and Gabe is three we are past the weaning stage, although they are both still regularly trying new foods and discovering what they like and don’t like, just like they did when they were babies. Read more

Peace of mind with SMA PRO Follow-on Milk

*Advertorial feature

Although I would have loved to have kept breastfeeding both my boys until they no longer needed me to, it didn’t happen for us for a variety of reasons. I wrote about my breastfeeding story with Toby here, and the moment I realised my time breastfeeding Gabe was coming to an end here. I am very grateful for the fact that follow on formula exists and that I was able to feed Toby and Gabe in a way that worked for us.

We started weaning both boys at six months and followed a combination of spoon feeding and babyled weaning. It took Toby a month or two to really get the hang of eating solids but after that he would eat pretty much anything I put in front of him. He would eat the same foods as us and I was happy that he was getting all the nutrients and vitamins that he needed.

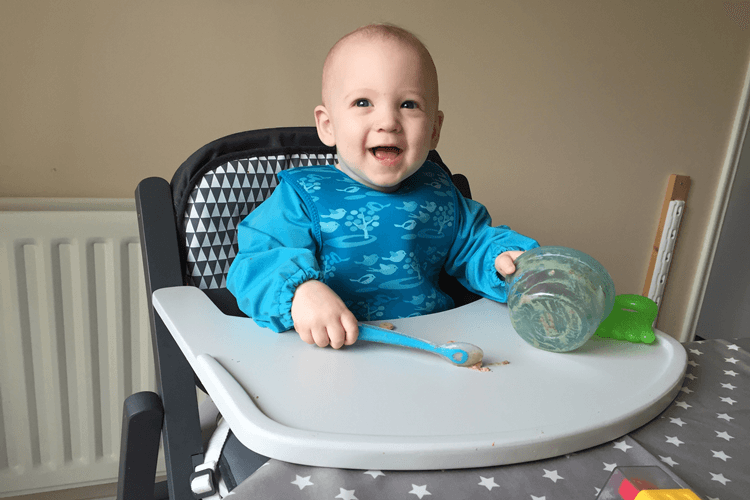
Gabe being spoon fed and getting peace of mind with SMA Pro Follow-on milk

Gabe was a different story though – Read more

Recipe: Roasted butternut squash with mushroom stuffing

It’s been a while since I blogged a recipe so I thought I share this one for roasted butternut squash with you. I first had this when my sister-in-law cooked it for me years ago and since then I’ve played about a bit with the stuffing – it’s one of those recipes that you can really adapt to use whatever you fancy (or whatever you have hanging around in the fridge which is what I usually do). The really great thing about this recipe is that you don’t have to peel the butternut squash – and if you’ve ever tried to do that then you’ll appreciate what a bonus it is not having to do it!

We usually have this roasted butternut squash with salmon and broccoli but you could have it with anything really, or even as a vegetarian main course on its own.

butternut squash and salmon

You will need (serves 2):
  • 1 butternut squash (I try to find a small squash, if you can only get a big one then I would maybe cut off some of the main fleshy part and use it for something else – butternut squash soup is delicious!)
  • mushrooms (or any other vegetables you fancy – I sometimes add courgette too)
  • cheese (you can use any kind of cheese really – feta is good, or something like Lancashire or Wensleydale that doesn’t really melt)
  • cream cheese (again, it’s up to you whether you use this or not, something like roulé or Boursin would work well too)
  • oil (I use garlic infused olive oil for flavour)

Pre-heat your oven to 200°

You will need the biggest, sharpest knife you can find for the next bit – and be careful!

First trim both ends of the butternut squash. This removes the stalk part from the top and gives you a flat base to stand the squash up.

Stand the squash upright then very carefully cut it in half length ways (this is why you need a big sharp knife).

Remove the seeds from both halves.

Use a smaller knife to make diagonal cuts through the flesh of the squash (but not the skin) so you get a criss-cross pattern as you can see in the photo. This helps the squash cook a bit quicker.

Rub oil all over the squash and place in a roasting dish in the oven.

butternut squash

Cooking time really depends on the size of your squash – for the one we had I put it in the oven for 50 minutes initial cooking. You want the squash to be soft after this initial cooking time so just leave it in until you can easily poke a knife in it!

While your squash is cooking you can prepare the filling. Chop the mushrooms (or whatever veg you are using into small chunks). Chop the cheese into small cubes. Mix the veg and cheese together – if you want to use cream cheese then mix this in too.

After your initial cooking time is up remove the squash from the oven and fill the hollow in each half with your veg and cheese mixture. Put back in the oven for another 20 minutes. If you are having your roasted butternut squash with fish then you could put your fish in a tin foil parcel and put it in the oven at this point too.

And that’s all there is to it. Serve with whatever you fancy.

roasted butternut squash

This is a great dish for babies and toddlers too. If you are following babyled weaning then you could just give them a bit of everything – I usually avoid the skin of the squash but that’s about it. If you are doing more traditional weaning  then you could always mash the fish and squash together or I’m sure you could even purée it if you wanted to.

baby portion butternut squash

Do let me know if you give it a try – and if you think of any other interesting ingredients you could use in the filling.

And if you like the look of this recipe why not Pin it for later?

Roasted Buttternut squash with cheesy mushroom stuffing recipe


Review: Piccolo baby food pouches

Gabe’s weaning journey so far has been quite up and down. Anytime he’s ill or teething he seems to go off his food but I can usually tempt him with a puree pouch when he doesn’t want anything else. So when the lovely people at Piccolo got in touch to ask if we wanted to try some of their new baby food pouches we were happy to give them a try.

piccolo-new-flavours

Piccolo products are produced with the idea of Mediterranean Goodness at heart. The flavours of the pouches reflect that too, for example; apple and apricot with a pinch of cinnamon, peach and apple with a hint of basil, spring greens with a hint of mint or squash, red pepper and chickpea with a hint of rosemary to name a few.

Gabe was certainly keen to get his hands on the pouches when they first arrived!

gabe-cant-wait-to-get-his-hands-on-the-piccolo-pouches

Gabe is at an age now where he can suck straight from the pouch which is really handy, especially when we’re out and about. It’s hard to tell really but he does seem to like most of the Piccolo pouches. The only thing I will say is that these pouches are quite runny compared to some of the other brands we use. I think this took Gabe by surprise a bit when he first tried them because he managed to squeeze it all over himself!

gabe-enjoyed-trying-the-piccolo-squash-red-pepper-and-chickpea-pouch

To be honest Gabe is a little bit past the puree stage but these Piccolo pouches have been great for adding to Weetabix and porridge and we found a great use for them with Toby.

making-peach-and-apple-ice-lollies

One pouch is the perfect amount to fill our ice lolly mould. Toby loves them and thinks he’s getting a big treat and I’m happy knowing everything he’s eating is good for him!

piccolo-ice-lollies-ready-for-the-freezer

At the moment Piccolo only produce Stage 1 baby food pouches but they are always developing new products. They are releasing some new flavours soon too which we were also sent to try; mango, pear & kale with a dash of yogurt; banana, strawberry & peach with a hint of mint; sweet potato, beetroot, apple & pear and raspberry & apple with soaked oats. Some of the flavours may seem a bit out there to us as adults but Gabe seems to like them!

Piccolo pouches are currently available from Amazon, Ocado, Booths, Waitrose and a few other retailers. You can find out where to buy them near you on the Piccolo website here.


**Disclosure: I was sent the featured products in return for this review. All opinions are my own.

We're going on an adventure

Banana and mango smoothies with Nutribaby

The other day we had some bananas hanging about that were a bit past their best and we didn’t have time to make a banana loaf which would be my usual use for them so we decided to whip up some banana and mango smoothies using our Nutribaby from Babymoov.

babymoov-nutribaby

Toby loves to help in the kitchen and these smoothies were easy enough for him to get really involved in making them.

First he peeled the banana and broke it up into large pieces in the Nutribaby. Next the mango went in (we bought some pre-cut for ease).

toby-putting-bananas-in-the-nutribaby

On top of the fruit Toby put a couple of big dollops of Greek yogurt and topped it up with some milk. As we were making these smoothies for the kids we used full-fat yogurt and milk but you could easily substitute low-fat alternatives.

adding-natural-yoghurt-to-the-banana-and-mango

Once all the ingredients were in the blender jug of the Nutribaby we clicked on the lid and whizzed the whole lot up together.

banana-mango-yoghurt-and-milk-in-the-nutribaby

I really like the fact that the blender won’t work unless both the jug and lid are fully clicked into place – hands up if you’ve started a blender without the lid on before and sprayed stuff all over the kitchen!

pressing-the-button-on-the-nutribaby-to-whizz-everything-up

The only trouble we had making the smoothies was that Gabe really didn’t like the noise…

gabe-didnt-like-the-noise-of-the-nutribaby

I’d picked up these cute glass milk bottles and paper straws on offer at the garden centre a few days before we made the smoothies. A word of warning though – those paper straws might look cool but they are pretty useless for a toddler and turned to mush in seconds!

banana-and-mango-smoothies-from-the-babymoov-nutribaby

And now for my last confession – Gabe had a try of the smoothie and pulled a bit of a face, but then he’s funny about his food anyway.

gabe-had-a-try-of-the-smoothie

But unfortunately Toby also declared it ‘yucky’ and wouldn’t drink it either! I thought it was quite nice but I think the problem was that the mango wasn’t quite ripe enough so didn’t blend fully into the smoothie.

Anyway, in an effort to rescue the situation I made Toby another smoothie but I replaced the mango with a couple of spoons of chocolate Nesquik. The verdict? This one was yummy…

toby-enjoying-his-chocolate-and-banana-smoothie

Don’t forget to Pin this post for later if you like it…

banana-and-mango-smoothies


**Disclosure: We were sent the Nutribaby as a part of our role as Babymoov ambassadors. All opinions are my own.


My top 5 weaning essentials

We’re now six months into our weaning journey with Gabe and although we’ve hit a few bumps along the way we are slowing getting there. Having now weaned two babies I thought I’d share my top five weaning essentials with you…

top five weaning essentials
Highchair

Even though we waited until 6 months to start weaning with Toby and Gabe they were both still a bit unsteady when sitting so needed a highchair that would support them. We used the IKEA Antilop with them both which was fab; very cheap and very easy to clean too. My only gripe with it is that it doesn’t fold and so takes up quite a lot of room. The Babymoov Light Wood high chair that we reviewed recently and are using with Gabe is fab in that respect. I also like that it’s the perfect height for Gabe to be able to sit up at the table with the rest of the family but still use the tray of the high chair.

Messy mat

Even if you’re not going full-on baby led weaning there’s no denying that weaning is messy however you do it, and food will end up on the floor. In both our houses we’ve had carpet in the area we eat so a mat to protect the floor has been essential. I know a lot of people use a plastic shower curtain, we’ve had various bits of PVC material bought from the fabric department at Dunelm – this is what we’re using at the moment as it meant I could get one piece big enough to go under both Gabe and Toby’s chairs. You can also get lots of purpose made weaning mats like this one from Messy Me that we reviewed recently.

Spoons

You don’t need lots of fancy equipment for weaning but I would say soft baby spoons are pretty essential. Of course you could just use an ordinary teaspoon but I know both my boys have really liked to chew on their spoons and I would worry about them hurting themselves on a metal one. We like these silicone spoons from Munchkin – Gabe definitely likes giving them a good old chomp!

Bowls

Again you could just use any bowl you happen to have but I’ve found that plastic bowls are great for when they inevitably get thrown on the floor. Lidded bowls are also very handy for storing left overs in the fridge or for when you are out and about. These bowls from Babymoov are the perfect size for babies and toddlers and they’re stackable so easy to store too.

Bibs

A good bib is essential when you are weaning unless you want to spend all your time washing food covered clothes. Even Toby still wears a bib at three when he’s eating cereal or anything that might drip or splash just because it makes my life easier. For babyled weaning a complete coverall bib is fantastic and I really like the Close Parent Coverall bibs and had a couple of them we used on rotation. We also use these from Silly Bibz which are a great size, fold up small for eating out and both boys seems to find them comfortable and don’t try to pull them off which is a bonus!

I also wanted to mention one non-essential but very useful product – especially if you are going down the more traditional puree route with weaning…

Steamer/Blender

Of course you don’t actually need a steamer/blender specifically designed for babies. You can steam things in a pan or in the microwave and use any kind of blender to make your purees. However, we’ve been trying out the Nutribaby from Babymoov and it is a great little piece of kit. It is quite small so doesn’t take up tons of room on the worktop. The steamer can be used to heat and sterilise bottles or warm baby food, as well as actually cooking food. The blender is a really good size and has some great features – for example it’s impossible to turn the blender on without the lid clicked into place…great for those baby brain moments! I’ll be sharing a few ways we’ve been using the Nutribaby over the next couple of months.

So there you have it – my top five weaning essentials (and one non-essential). Is there anything else that you’ve found invaluable when weaning?


**Disclosure: We were sent some of the products featured in this post as a part of our role as Babymoov Ambassadors on the #stresslessweaning program. As always, all opinions are my own.

Review: Babymoov Light Wood High Chair

When we started looking for a high chair for Toby when he was weaning we got lots of recommendations for a very cheap one from a well known Swedish furniture store. It served Toby well until he moved into a booster seat at the table when he was nearly two. We used the same high chair with Gabe for the first month or so of weaning until, as part of our role as Babymoov ambassadors, we were sent the Babymoov Light Wood High Chair and matching Comfort Cushion to try out.

Babymoov Light Wood High Chair

I’ll be honest here – coming in at ten times the cost of our old high chair I did wonder if the Babymoov high chair would be worth the extra money. But I have to say it does have loads of great features that really do make it stand out from other high chairs on the market.

Large easy to clean tray on the Babymoov high chair

As the name would suggest the Babymoov high chair is made from wood and it is really solidly built. It is very sturdy and I’ve never felt worried that Gabe could tip it, whether he’s sat in it or using it to pull himself onto his feet! The slight downside to this is that at 6.5 kg the chair is quite heavy – I wouldn’t want to have to move it around a lot.

What makes the Babymoov Light Wood High Chair different to a lot of other high chairs on the market, and one reason I think the £140 price tag is justified, is that with a movable seat and foot rest, and a removable tray this chair can adapt to be used from around 6 months right up until your child is big enough to use a standard chair, and beyond.

Sitting up at the table in the Babymoov Light Wood high chair

Now I know there are a few other wooden high chairs on the market that are adaptable to be used by both babies, toddlers and children but the thing that makes this Babymoov high chair unique is that it also be folded so it is almost flat. For me this is a massive plus point over our previous high chair, and other chairs of this type. It’s really easy to collapse as well; just release the crotch bar, press two buttons on either side to lower the tray then squeeze the clip on the back of the seat to fold it. Opening it back up is even easier and can be pretty much done one-handed.

Babymoov Light Wood High Chair folds flat

The high chair is very easy to wipe clean and I do like that the lip on the edge of the tray doesn’t go right round to the back which makes it even easier to wipe crumbs and other bits off into your hand. The only thing to watch out for when cleaning is that crumbs (and Cheerios in our case) can collect just at the base of the crotch bar and they’re easy to miss when cleaning, especially when you’ve got the cushion over the top.

Watch out for those Cheerios

Looks wise the Babymoov Light Wood high chair is definitely more stylish than our old high chair. I like the dark and light grey of the chair – it’s going to fit in really well when we get our new kitchen soon.

Gabe likes the Babymoov high chair

If you are looking for a wooden high chair that will adapt with your child and last them right from weaning through to childhood then this Babymoov high chair is definitely one to consider.


**Disclosure: I was sent the featured product as part of my role as a Babymoov ambassador. All opinions are my own. This post contains affiliate links.

We're going on an adventure

Weaning with Bibetta and Messy Me // #messisbest

Weaning baby

I have a confession to make – I love the idea of babyled weaning but I just can’t stand the mess! I will never be one of those mums who posts a picture on Instagram of their baby covered head to toe in spaghetti bolognese or yoghurt. However, I know that getting messy and exploring food is important for Gabe’s development so I do try and rein in my need to clean up every spill and drip whenever I can. Read more

Review: Babymoov Lovely Bear Lunch Set

As part of our role as #stresslessweaning ambassadors for Babymoov we were sent this Lovely Bear Lunch Set. There’s a divided plate, bowl, cup and a sweet little fork and spoon. Everything in the is melamine so very hard wearing (but remember melamine can’t go in the microwave) and features a cute bear character.

Babymoov Lovely Bear Lunch Set

As you can see, Gabe isn’t quite ready for using plates, bowls and cups yet.

Cup goes the other way up Gabe

At the moment we either spoon feed him, or he eats straight from his highchair tray. If I give him a bowl or plate he just tips everything out and it gives him something else to bang on the table!

Gabe doesn't quite understand a bowl

He does like having something to hold while he’s being fed though and the spoon from the lunch set is the perfect size for his little hands.

Gabe using the Babymoov Lunch Set bowl and spoon

Although Gabe isn’t quite ready to use the Babymoov Lunch Set just yet I’m sure he’ll like it when he’s a bit older. I think it would make a great first birthday present – the set comes in four different designs and in a lovely presentation box too. I know Toby got far more toys than he could ever play with for his first birthday so something like this lunch set would make a fab alternative.

Babymoov Lunch Set giftbox

The Babymoov Lovely Bear Lunch Set has an RRP of £29.99

**Disclosure: I was sent the featured products in return for this review. All opinions are my own. This post contains affiliate links.

We're going on an adventure

Gabriel is ten months old

Yep. That’s right. Gabe is ten months old. Another two months and he’ll be one. And actually because I’m so late writing this month’s update he’ll actually be one in just over six weeks!

Gabriel is ten months old

When I wrote Gabe’s nine month update he had about 10 chicken pox spots and I was hoping he was going to get away with a mild dose but no such luck. A couple of days later and he was covered; they were all over his body, his bum, his face, his head, in his ears, eyes and mouth….it was horrible and he really suffered for the next week. Despite not scratching any of his spots he has ended up with a few scars on his body and one right between his eyes – hopefully it will fade a bit over time but I don’t see what else we could have done to avoid them.

And it just doesn’t get any better for my littlest bear – the week after he had recovered from his chicken pox he got another stomach bug. He was sick one evening then seemed OK overnight but was sick five times the next day. After he’d got over that he seemed to be really struggling with his reflux and then started teething again… It really is never ending! Despite all the illness we have still managed to get out and about a bit this month and Gabe seemed to enjoy having a go on the swing a few weeks ago.

Enjoying the swing

Hopefully though there is some light at the end of what has been a very long tunnel. I can actually feel a tooth on one side and the other one doesn’t seem to be too far away. And last week we finally got to see a paediatrician at the hospital after being referred back in April. The doctor has prescribed Gabe some new medicine and so far it does seem to be helping so fingers crossed things are on the up at last and we can all start getting a bit more sleep soon! At the moment Gabe is still up at least once or twice a night (and often more) and is usually awake and wanting to get up at some time between 4:30 and 5 am. Most nights he ends up in bed with me in the early hours too. I wouldn’t say I was an enthusiastic co-sleeper but I just do whatever I can to get as much sleep as possible at this point.

In spite of all the illness Gabe has made some big developmental leaps in the last month. He is super speedy at crawling now, making it very difficult to get this month’s milestone card picture!

Gabe won't stay still

He has learnt to pull himself up to standing which he is incredibly pleased with himself about. He’s started cruising along the furniture too. It does mean we have to be in a state of constant vigilance though as he is still a bit unstable and hasn’t quite worked out how to sit back down properly yet either so he always seems to be seconds away from causing himself an injury!

Gabe only wants to stand up

Our progress with weaning has been slow this month as being ill and teething has affected Gabe’s appetite quite a lot and I think because of that he has’t really grown or put on much weight in the last month either. His co-ordination is improving all the time though and he is getting much better at feeding himself finger foods, although he is still mostly spoon-fed. I’m hoping we can get him more used to lumpier food over the next couple of months and he can eat the same as the rest of the family. He usually has three bottles of milk during the day now, but also has at least one or two during the night as well. I’m hoping that getting his reflux under control will help us stop the night feeds too.

Gabe enjoying some lunch

Gabe has also started making much more distinguishable sounds now too. He says hiya and although we’ve not quite got Dada yet he does say ‘a-da’ instead. It’s very cute.

I think that’s probably about it for this month’s update. When it comes time to write Gabe’s eleven month update we will be mid house move and he’ll have to deal with lots of disruption to his normal routine. We’ll be leaving the house he was born in which is a little bit sad but hopefully by this time next month we will be getting settled into our forever home. And please, everybody, send all your wellness vibes this way because I would love Gabe to have a month where he isn’t ill at all.

0-10 months